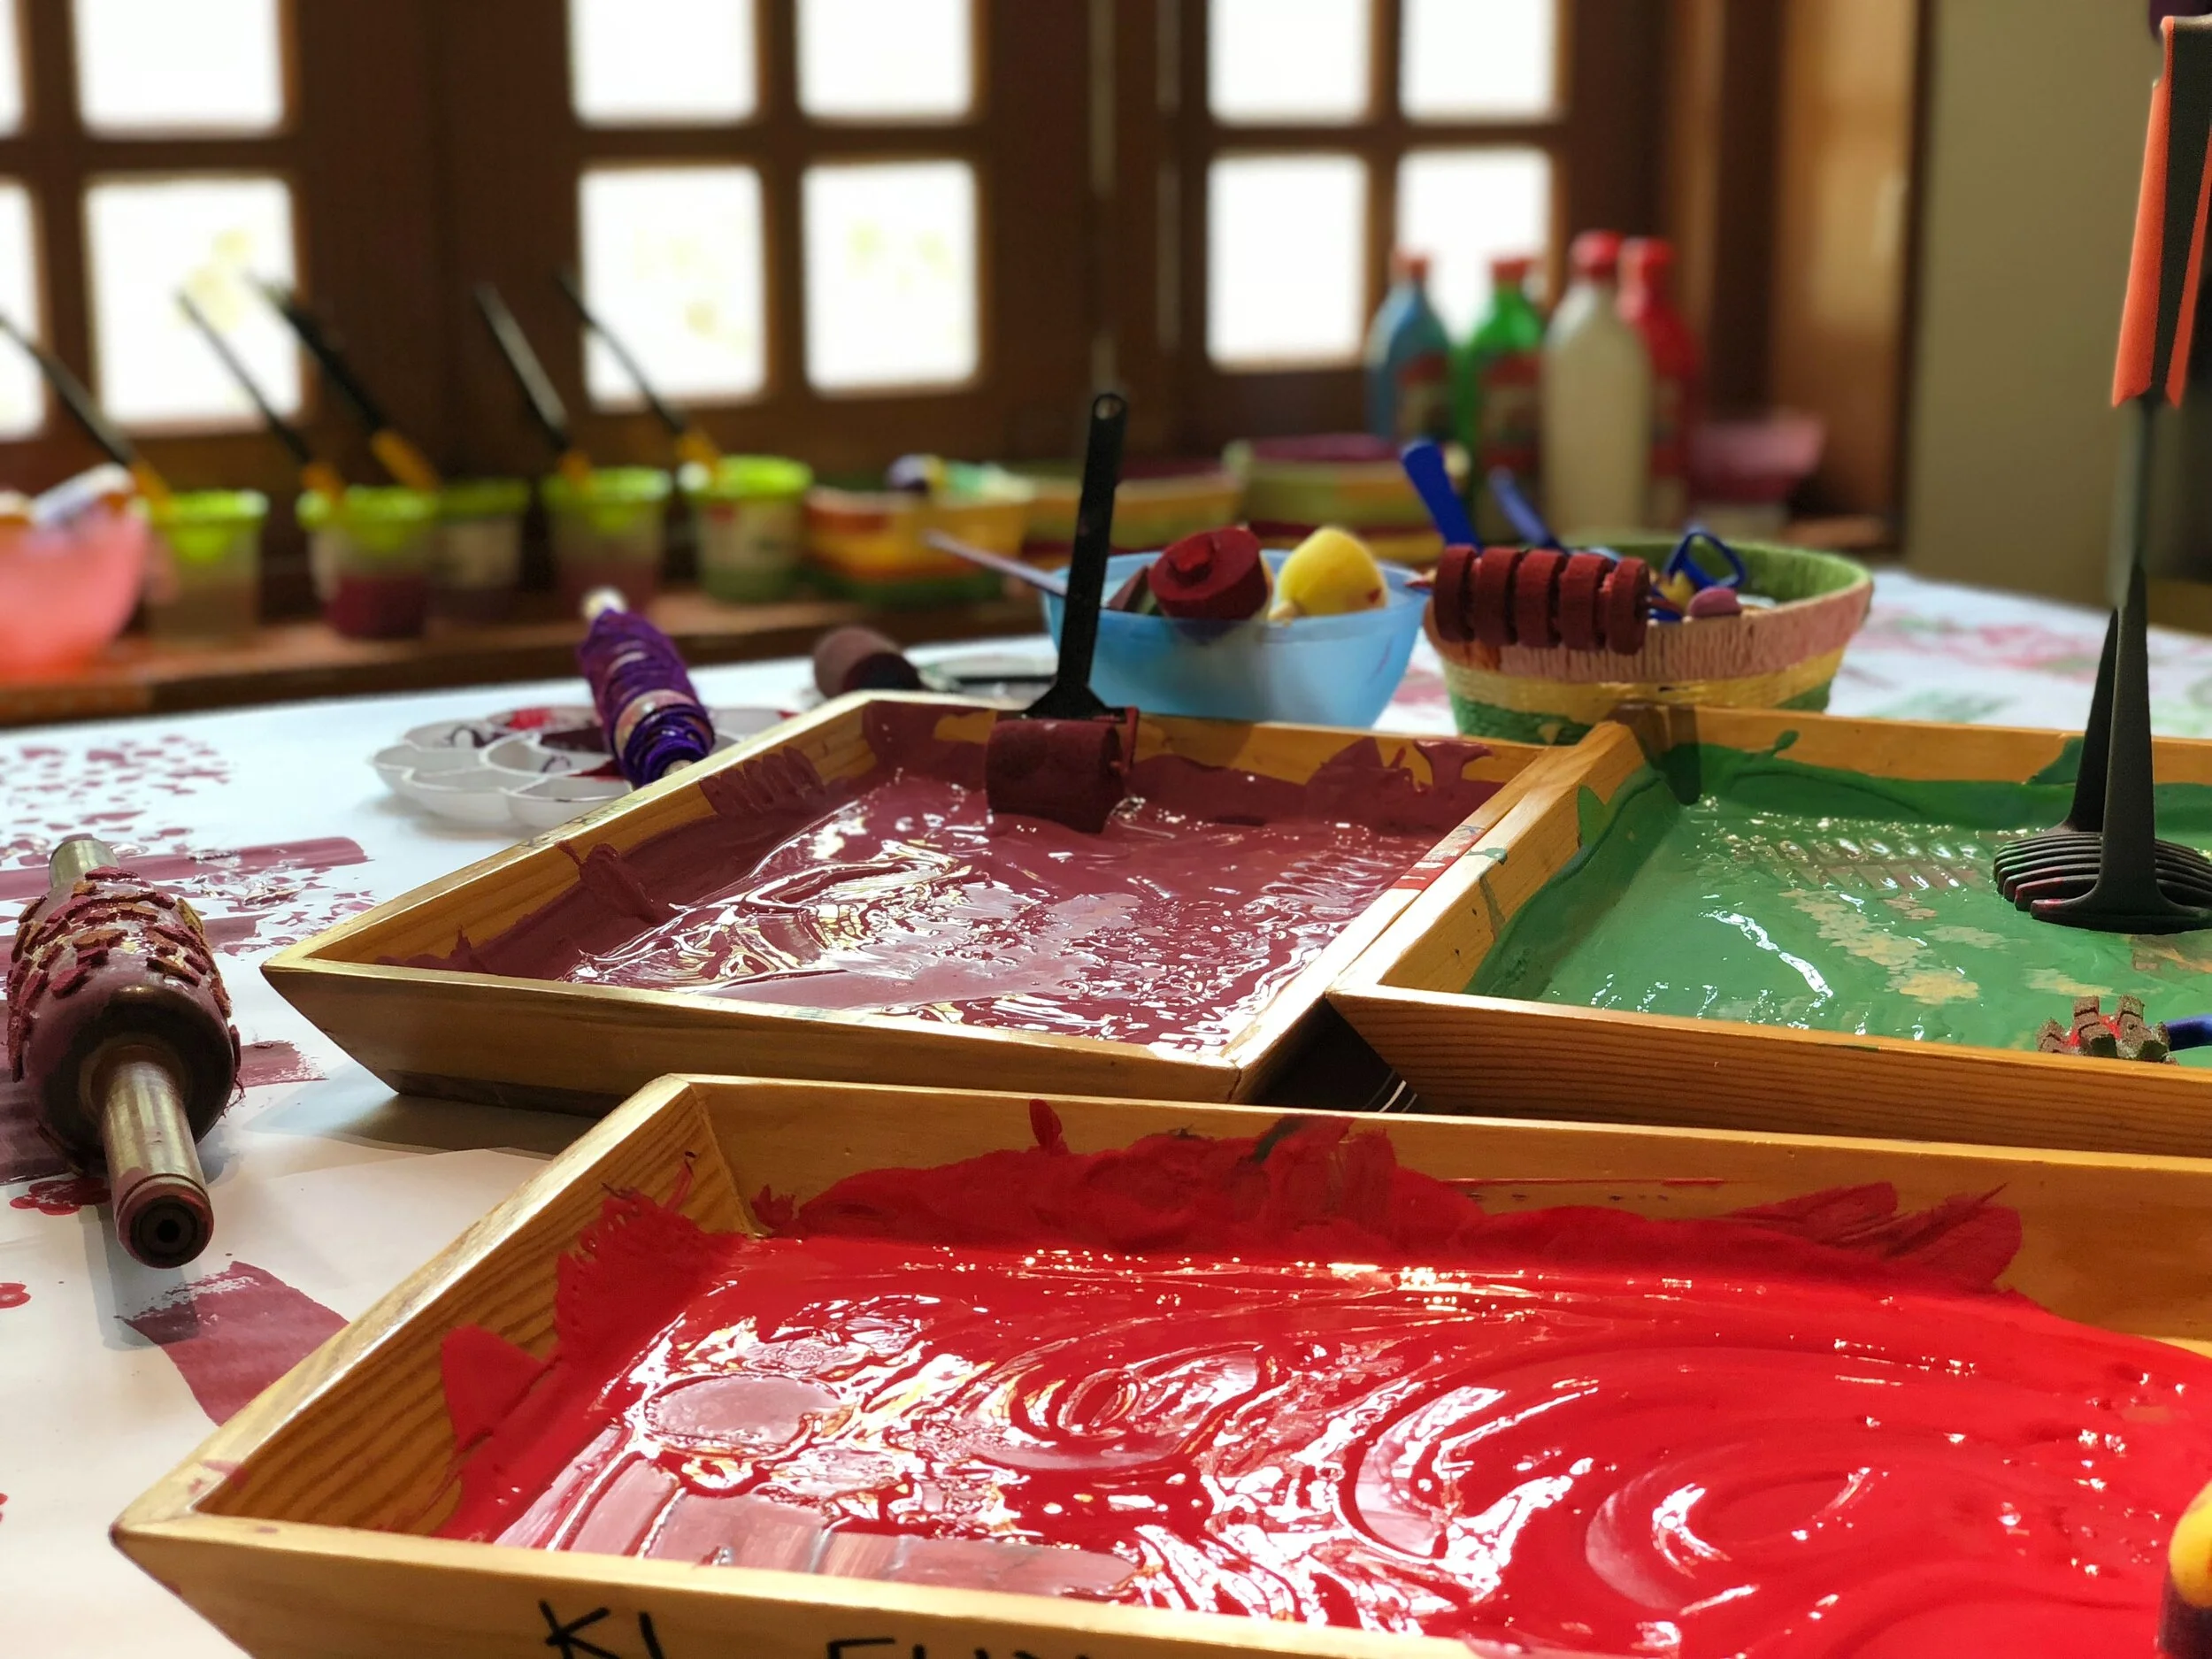
SUMMERTIME FUN: KID-APPROVED SCREEN PRINTING ARTS & CRAFTS
I sometimes struggle with how to explain to my two toddlers what my husband and I do for a living. They enjoy running around the parking lot on weekends and random evenings and know that there’s a ton of machinery inside but the nuances, the artwork that we produce, that definitely gets lost simply based upon their ages.
That was, until I stumbled across a recent post on Pinterest touting a screen printing arts and crafts project that we could do at home. It’s definitely not screen printing in its traditional form but this certainly helped them understand our world just a little better while also giving us an opportunity to step away from the tablet and get our hands a little dirty during this weekend project (okay, maybe very dirty depending on the page of your kids, as you’ll see as you read on).
As a professional screen printer, I couldn’t help myself but to make some adjustments to the original process but as a whole, we really enjoyed this project. If you’re in search of a summertime activity to do with your kids, this is a great option. I’ve included the directions below in case you would like to try it at some point, too. If you do, be sure to send us your photos as we’d love to showcase your works of art throughout the factory!
Tip before getting started:
Make sure you have a few hours over a weekend to dedicate to this. It’s NOT a quick project.
Planning ahead here is key so be sure you have this list of supplies on-hand:
A Psuedo Screen
Any thin mesh would do but as the original article recommended, tights or ladies pantihose work just fine.
Screen Holder
You simply need something to hold your screen. In this instance, an embroidery hoop seemed fitting.
Paint Brush
I went with these clever packages from Michaels. When you have two kids, you learn quickly that the likelihood of sharing is slim so we try and keep it simple (and separate) when possible.
A Sponge
The nice part about the package mentioned above is that it comes with a sponge so you save a step.
Mod Podge
You can find this at a local craft store. You do NOT need a large bottle of this and it comes in many forms. Keep it simple and do not overthink this. If your local craft stores are still closed as a result of COVID-19, there’s a number of options available that you can purchase online and have it delivered straight to your door.
Fabric Paint
One color is preferable here. We took this opportunity to teach the kids about printing with one color, vs. multiple.
A Design
In our case, we just let the kids choose their own design based upon their interests which vary greatly. My best advice… KEEP IT SIMPLE. Mark, our art director extraordinaire helped create the designs in Adobe illustrator which came in key. Thanks again, Mark!
T-Shirts
We used these super comfortable ones from XXX, one of our top suppliers at the Embroidery Factory.
A newspaper or cloth for the table
Because…when you're painting with kids, you take extra precautions.
Now for the how-to:
This may seem like common sense but just like a mis en place in cooking, having all of your supplies in one place is essential for keeping yourself organized, saving yourself time...and a potential headache.
Stretch your screen over your embroidery hoop and make sure it’s securely fastened. Depending on the size of your hoop, you may have excess. If so, be sure to trim it.
Lay your screen onto the design and paint the negative of the design with mod podge. You’ll want to do this several times waiting for the mod podge to completely dry in between each step. At this point, leave it overnight.
When your screen is 100% dry, it’s time to paint!
Place your newspaper or cloth on a table.
Insert a piece of cardboard in the middle of the shirt. The goal here is to make sure what once you begin painting, it doesn’t stick together. After all, you want to wear your shirt, right?
Once your cardboard is secured within your shirt, place your t-shirt flat on the table.
Pour a little fabric paint into a small dish (we’re big proponents of up cycling so we use old egg cartons for this).
Place your screen on your t-shirt and sponge the paint on the screen and over the design. Peel off your screen carefully and let your t-shirt dry.
If you want to repeat the steps above for another shirt, now is your time. Simply repeat the steps above with another shirt, if you choose to do so. If you’re happy with one but want to save your design for another time, be sure to rinse your screen before it dries.
Until next time,
Elise
Co-owner, Embroidery Factory

